Friday, September 30, 2011

Gluten Free Pancake Muffins - A Delicious Time Saver


These turned out awesome!  I've made some good pancakes before, and I've made some good muffins before, but these were definitely something to be proud of.

What a great time saver too.  A few minutes prep time, just 15 minutes in the oven, and it made 12 large pancake muffins.  That's quicker than I could have fried 12 pancakes on the griddle.

Who couldn't use extra time in the morning?

I used my favorite gluten-free oat flour that I grind myself out of Bob's Red Mill gluten-free rolled oats but this recipe will work with pre packaged gluten-free oat flour or if you can't tolerate oats at all, use sweet white sorghum flour instead.

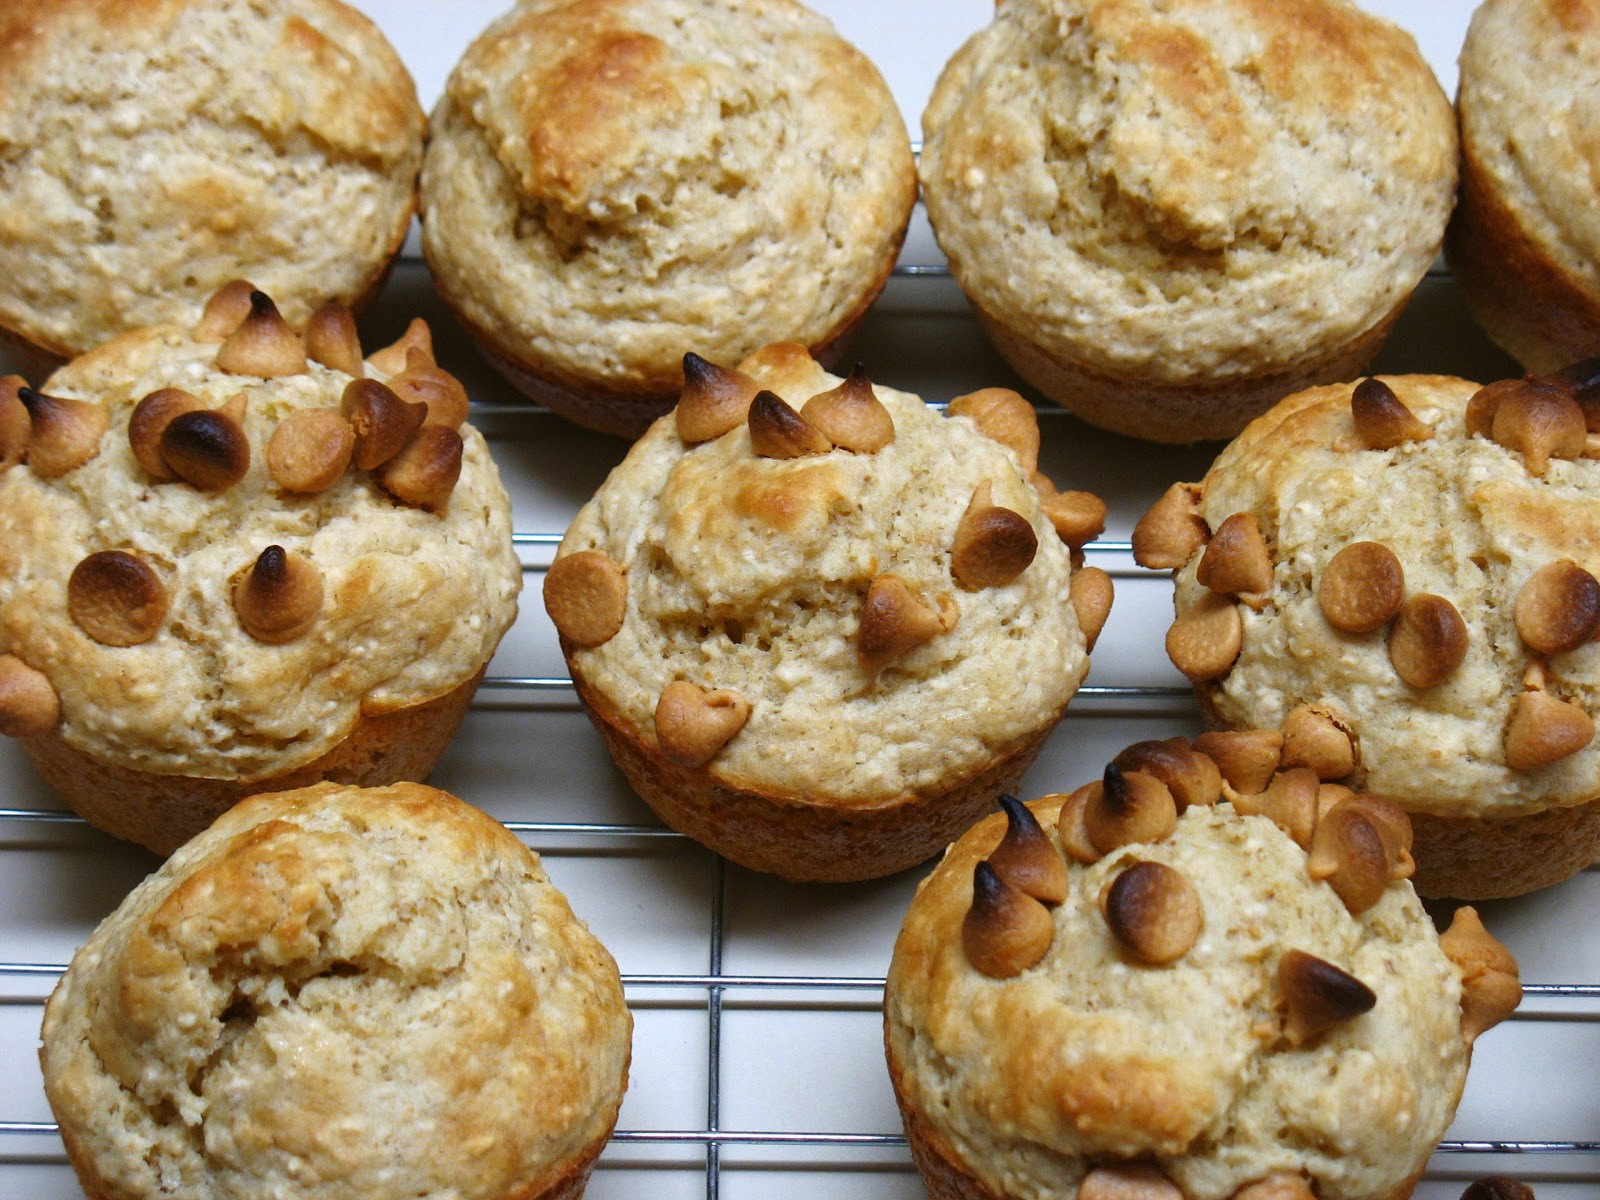
You'll notice in the picture that some of them have chips on top.  That's the beauty of making these.  You can customize them for each member of the family with add in treats or toppings.  I like peanut butter on my pancakes, so I made half with peanut butter chips for me, and half plain for Shawn.

Ingredients


  • 1 cup certified gluten-free oat flour
  • 2/3 cup brown rice flour
  • 1/3 cup tapioca flour
  • 1/3 cup cornstarch (or arrowroot flour)
  • 1/3 cup sugar
  • 2 teaspoons baking powder
  • 1 teaspoon xanthan gum
  • 1/2 teaspoon baking soda
  • 1/2 teaspoon salt
  • 2 eggs
  • 1 cup buttermilk (or milk with 1 tablespoon of apple cider vinegar)
  • 4 ounces of seltzer


Step 1:
Whisk the dry ingredients thoroughly together in a large bowl.

Step 2:
Whisk the eggs in a small bowl, then add the buttermilk and the seltzer to the eggs.

Step 3:
Mix the wet ingredients into the dry ingredients.  Stir together by hand just enough to incorporate everything leaving no clumps of dry.

Step 4:
Spray a muffin pan with a gluten-free nonstick spray of your choice.  Divide the mix evenly into the 12 muffin cups.  Customize as desired with additions and toppings. Preheat oven to 425 degrees and let the pan sit while it is heating up.

Step 5:
Bake at 425 degrees for 15 minutes.  These domed up nice and when I tested the centers with a toothpick they were perfectly done at 15 minutes.

Step 6:
Remove from the pan and cool just ever so slightly on a wire rack.

Serve warm as part of a complete breakfast with your favorite toppings of syrup, butter, etc.

These are good on-the-go also.

Enjoy!
 

Monday, September 26, 2011

Island Gluten Free Bakery in Sarasota, Florida


Shawn and I made several attempts to visit this gluten-free bakery on our many trips to Sarasota.  Last time was the charm, They were open.


Island Gluten Free Bakery is a delightful little gluten-free bakery located just off of Siesta Key in Sarasota.  The address is 
1880 Stickney Point Rd. 
Sarasota, FL 34231.  


This was a very pleasant experience and we look forward to eating there again and again.


Shawn and I tasted their carrot cake, cinnamon rolls, and pumpkin muffins.  Yummy!


We decided to split an egg salad sandwich, only we wanted to try it on a hoagie roll.  They were all too happy to accommodate us.  We had a seat and they brought it out when it was ready.  


Their bread is phenomenal! I was a bit jealous.  lol


Here is a picture of their hoagie roll.


Here is a picture of their sandwich bread.


Unlike some store bought breads that I've tried, these were soft and held together great.  Shawn was nice and said he liked mine better but I knew he was only being a good spouse.  


The owners were very personable and friendly.  I recommend that when in Sarasota, you give them a try.  Here is a link to their website.


Enjoy.


Saturday, September 10, 2011

Gluten Free Chocolate Cupcakes


These turned out to be the best textured and flavored gluten-free chocolate cupcake that I've made so far.  They are just a bit moister and lighter than those regular cupcakes you can buy in your local grocery stores bakery.    That's right, I said moister and lighter.
Here you can see the inside texture and the outside texture are a moist crumb that isn't very crumbly at all.  The small light brown flecks that you can see in the cupcake is due to the fact that I grind my own oat flour.  Yes, it tends to leave a few "chunks" of oat in the batter, but I kind of like that added texture sometimes.  If you use certified gluten-free oat flour from Bob's Red Mill that is already ground for you, their will be a much more refined texture and appearance.
These were absolutely delicious!  I know you are going to enjoy this simple to prepare recipe.  Try adding things if you desire, like chocolate chips, etc.  I think with or without additions, this simple and delicious chocolate cupcake recipe will find it's way into each and every one of your "go-to" recipe files.

Ingredients

1/2 cup of certified gluten-free oat flour
1/2 cup of brown rice flour
1/3 cup arrowroot flour (or cornstarch)
1 teaspoon xanthan gum
2 teaspoons baking powder
1/4 teaspoon baking soda
1/8 teaspoon salt
3/4 cup cocoa
1 and 1/2 cups sugar
2 eggs
3 tablespoons unsalted sweet cream butter
1 teaspoon pure vanilla extract
1 cup buttermilk (or 1 cup 2% milk + 1 tablespoon apple cider vinegar)

Step 1:
Begin by creaming together the sugar, butter, vanilla, and the eggs.

Step 2:
Next, whisk together the rest of the dry ingredients until thoroughly combined.

Step 3:
Mix the flour and the milk into the creamed sugar/butter/egg mixture.  Do this in thirds using 1/3 of the flour, then 1/3 of the milk, mixing thoroughly between each addition until all the ingredients are thoroughly mixed together to form a batter.

Step 4:
Preheat oven to 350 degrees Fahrenheit and line your muffin tins with paper cupcake liners.  Fill the cupcake liners about half full with the batter give or take a little.  This will make 24 cupcakes.

Step 5:
Bake for 15 minutes at 350 degrees.  Remove from oven to test with a toothpick in the center of a cupcake to determine if they are done. (the toothpick should come out relatively clean, if batter is stuck to the toothpick, cook them a bit longer) These were perfectly done in 15 minutes.

Step 6:
Remove the cupcakes from the cupcake pan and cool completely on a wire rack before frosting them.  If you choose not to frost them, enjoy one as soon as they are cool enough to handle. =]

Enjoy!