Wednesday, October 26, 2011

Gluten Free Doughnut Mini Muffins Recipe


 I got a mini muffin pan for my recent birthday.  (41 if you must know)

That same day I got a shipment of flour that I had ordered from Bob's Red Mill, so the baking magic was inevitably going to happen this week.  I had ordered some almond meal/flour because I had heard many good things about it but have yet to try it.  It's kind of expensive, but I had a BRM gift card so I went wild.  I had also ordered a case of certified gluten free oat flour.  These two flours make up the bulk of this recipe.


I made several different varieties.  Glazed, Nutella swirl, and my favorite cinnamon/sugar sprinkle.  All with the same batter so let's focus on that.

These are now my favorite muffin.  Whether it's because they are so cute in miniature form or that it's been forever and a day since I had a doughnut, I don't know, but I love these and can't stop eating them.  Neither can Shawn, or my friends for that matter.

Enough chit chat, let's get right to it.

Ingredients


  • 1 cup certified gluten-free oat flour
  • 1/2 cup tapioca flour
  • 1/2 cup almond meal/flour
  • 2/3 cup sweet white sorghum flour
  • 1 cup buttermilk (I used 1% milk with 1 tablespoon apple cider vinegar)
  • 1/4 cup unsalted sweet cream butter (plus 1/4 cup for topping)
  • 2 eggs
  • 1/2 cup sugar (plus 1/4 cup for the topping)
  • 1/3 cup brown sugar
  • 1 and 1/2 teaspoon baking powder
  • 1 teaspoon xanthan gum
  • 1 teaspoon nutmeg
  • 1 teaspoon pure vanilla extract
  • 3/4 teaspoon salt
  • 1/4 teaspoon baking soda


Step 1:
Whisk the flours, nutmeg, salt, baking soda, baking powder, and xanthan gum together in a bowl and set this aside for now.

Step 2:
Cream the 1/4 cup softened butter, 1/2 cup sugar, 1/3 cup brown sugar, vanilla, and eggs in your stand mixer bowl.

Step 3:
add the flour and the buttermilk to the creamed butter/sugar mixture slowly.  Add a third of the flour at a time while adding the buttermilk in between flour portions and blending thoroughly after each addition.  Here is the finished batter.
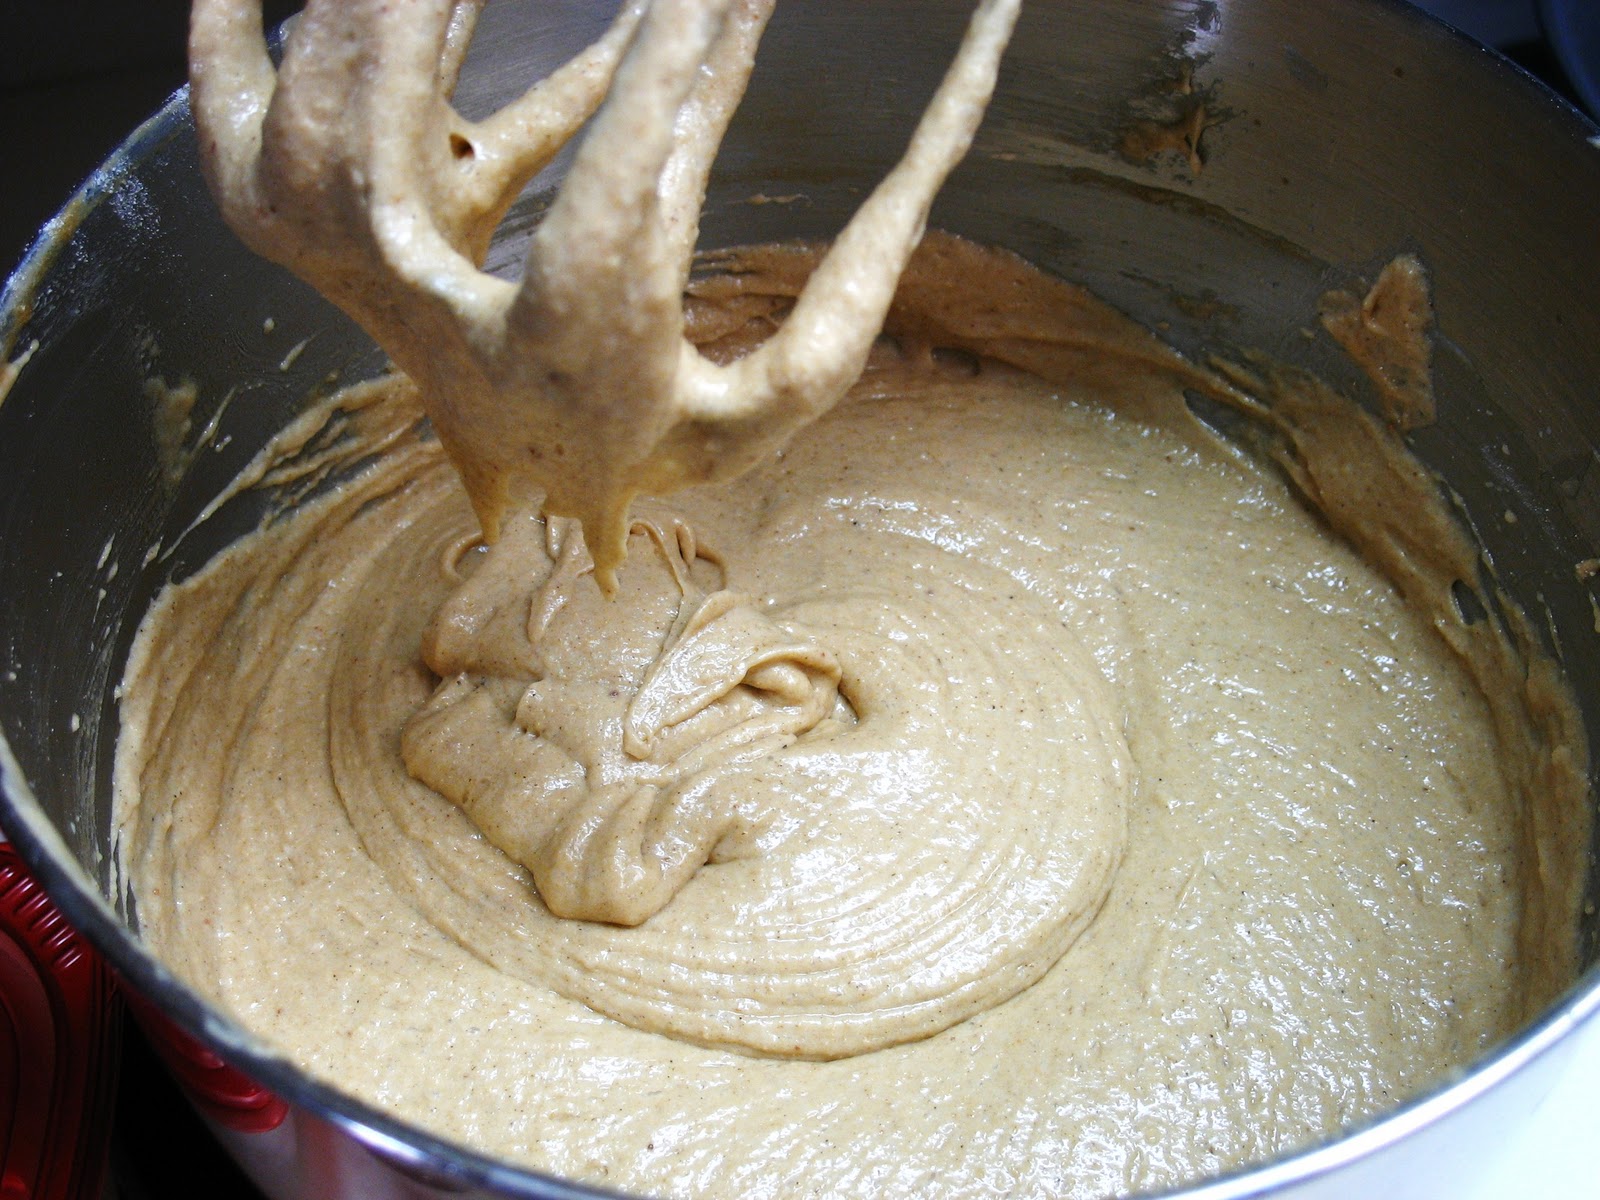
Step 4:
Coat your mini muffin pan with a nonstick cooking spray, I used Pam.  Fill the muffin pan cups about 2/3 full.  If making the Nutella swirl ones, add a small drop of Nutella and swirl it in with a toothpick.

Step 5:
Bake at 425 degrees for 10 minutes.  This recipe made 48 doughnut mini muffins. Cool on a wire rack.


Step 6:
To make my favorite cinnamon sprinkle ones, microwave 1/4 stick of butter until melted in a bowl.  Mix 1 tablespoon cinnamon with 1/4 cup white sugar in a separate bowl.  Grasp the bottom of one of the muffins and dip the muffin top into the melted butter.  Next roll the wet with butter muffin top in the cinnamon sugar mixture and set upright on a wire rack to continue cooling.


To make the glazed ones, just mix some powdered sugar with a few teaspoons of milk and using the same technique, dunk the tops in the glaze and set upright to dry on a wire rack.

Store these on the counter in an airtight container for a few days.  I don't imagine that they will last longer than a few days.  I filled one of my Anchor Hocking Heritage Hill Jars with them and there are three left today.

Enjoy!


Thursday, October 20, 2011

Gluten Free Caramel Apple Pie


This was deliciously appropriate for the month of October.  I like old fashioned apple pie, but for this Halloween I was inspired to try this delicious version.  

So easy to make, it's scary!

I used a variation of the pie crust from this recipe (click here) and this recipe (click here) using the flours I had on hand.  I kept the proportions the same (using 2 cups of flour).  You can use any of your favorite gluten free flour mixes and it should turn out just fine.

Ingredients

  • 1 gluten free rough puff pastry pie crust (see above links)
  • 5 or 6 of your favorite baking apples (I used golden delicious, although they can get a bit runny)
  • 1/4 cup cornstarch or arrowroot
  • 2 cups white granulated sugar
  • 1/2 stick of  unsalted sweet cream butter
  • 1/2 cup heavy whipping cream


Step 1:
Prepare, mix, and roll out your pie crust using one of the recipes listed above.  Put it in a pie tin (I used two 7 inch tins to make two smaller pies).  Refrigerate the pie crusts until needed.

Step 2:
Wash your apples.  Peel, core, and dice them.  Toss them in a bowl with the 1/4 cup of cornstarch or arrowroot.  Cover in plastic wrap and set aside until ready to use.

Step 3:
Pour the 2 cups of sugar into a medium to large saucepan and begin heating over medium heat.

Step 4:
Set out your heavy whipping cream and butter on the counter beside you.  You will need these quickly and won't have time to go into the refrigerator searching for them without burning the caramel.

Step 5:
Begin stirring the sugar.  It will slowly begin to melt and turn a nice amber color as indicated by the following picture sequence.


Step 6:
When the sugar is melted with no visible white chunks and is turning a warm shade of amber, add the half stick of butter and continue stirring until melted in.


Step 7:
Remove the pan from the heat.  {{{ Warning!  It will be very very hot and easily and quickly burn you during this step.}}}  Using a very long handled spoon, stir in the half cup of  heavy whipping cream.  Be extremely careful to avoid the large plume of hot steam that will be given off during this step.  (I burned the entire back of my hand the first time I tried this.)

Step 8:
Uncover the apples and divide them equally into the two pans (or fill the one pan if you are making one large pie).  Pour the caramel sauce over the apples being careful not to get it on the edges of the pie crust.

Step 9:
Wet the edges of the pie crust with a finger and some water. Place the pie topper on top.  Use a knife to make steam vents in the top.  I made a jack-o-lantern face in mine.

Step 10:
Bake at 375 degrees for 30 minutes.  Cool slightly before serving.


Enjoy!
  

Wednesday, October 12, 2011

Shepherd's Pie in Gluten Free Rough Puff Pastry Shell


I made this on a day I had a little extra time on my hands.  The rough puff pastry pie shell is faster to make than my puff pastry, but still takes some time to throw together.  It is however easier, quicker, and just as full of buttery, flaky, deliciousness.

To conserve money on my food budget I decided to make 2 of these delicious pies and freeze one for a day when I didn't have extra time on my hands.  I found these 7" foil pie pans with lids in a package of  4 at The Dollar Tree for just $1.00 (.25 cents each!).  I love that store.  There are certain things that The Dollar Tree is just the best place to buy, like certain vases, glassware, etc.  It always pays to wander the aisles once in awhile because every now and then, they have some name brand, new products, for just $1 when I see those same products at Walgreen's or somewhere comparable for $5 or $6.

Back to the pie....

I love Shepherd's Pie, which is kind of a generic term for a meat, potato, and cheese pie, usually made in a casserole dish with a mashed potato crust.  I wanted to make it as a pie.  With a pie crust.  Sounded delicious so here it is!

Ingredients

Crust
1/2 cup sweet white sorghum flour
1/2 cup tapioca flour
1/2 cup cornstarch
1/4 cup brown rice flour
1/4 cup millet
2 teaspoons xanthan gum
2 tablespoons clover honey
1/4 teaspoon sea salt
1 teaspoon pure vanilla extract
1 and 1/2 sticks of unsalted sweet cream butter (12 tablespoons)
3/4 cup ice water

Filling
1 pound ground beef (or turkey)
4 or 5 medium potatoes (diced)
1 medium sweet vidalia onion (diced)
1 teaspoon minced garlic
1 teaspoon butter
1 teaspoon ground black pepper
1 teaspoon sea salt
1/4 teaspoon ground sage
Cheese  (your choice, cheddar, velveeta, american, non-dairy, etc.)

Step 1:
Measure and chill your water.  Put your rolling pin into the freezer to chill.  Prepare your workspace.  Preheat your oven to 400 degrees. Cut into small pieces and chill your butter.


Step 2:
Whisk your flours, starches, gums, and salt together in your stand mixer bowl.

Step3:
Using your dough hook attachments, add the chilled butter, water, honey, and vanilla to the dry ingredients and let the mixer run.  It will take awhile to roughly mix together.
Keep mixing until it begins to look like this next picture.  The butter should not be fully integrated into the dough.  The dough should be dry and a bit chunky looking.

Step 4:
Turn the dough out onto a well floured workspace.
Sprinkle the top with some flour and using your chilled rolling pin, begin rolling as you would roll out puff pastry.  Roll for 6 turns.  *A turn is rolling out into a rectangle, folding in the sides in thirds like a business letter, turning it 1/4 turn, repeat.  Sprinkle the surface and the dough with flour as needed to prevent sticking.

Step 5:
Cut the last folded dough on the 6th turn in half.  Each half will make 1 seven inch pie crust with topper.  I wrapped the piece I wasn't working with in saran wrap and placed it in the refrigerator to keep it cold.   I rolled out the dough half into a circle about 9 or 10 inches in diameter, placed it into the pie tin gently forming it in.  I then cut off the edges by just pressing it with my fingers.  The part that is cut off, I reworked in my hands and then rolled out into a circle for the topper.
When both pie shells are rolled out and complete.  I wrapped the toppers in saran wrap and placed both pie shells and the toppers in the refrigerator to chill while I prepared the filling.

Step 6:
In a large deep pan add the teaspoon of butter and the minced garlic.  Saute for a few minutes.

Step 7:
When the pan is thoroughly heated, add the ground beef (turkey) and the diced onion.  Cook until the meat is browned and the onions are softened.

Step 8:
Clean and peel your potatoes.  Dice them into the pan with the cooked ground beef and onion.  continue to heat while adding the spices in.  You don't want to fully cook the potatoes, just long enough to begin to soften but still have some snap to them.  They will fully cook in the oven.

Step 9:
Fill the pie shells with the ground beef/potato/onion mixture.

Step 10:
Add a layer of your favorite cheese.  I like cheddar, Shawn prefers Velveeta.  Shawn won today and I used Velveeta.

Step 11:
Use water and your finger to wet the outer edge of the pie crust.  When wet, apply the topper and using your fingers smooth and mash the edges together until sealed.  Wet the entire top of the pie just enough to smooth it and wipe off extra flour.

Step 12: 
Poke steam vents in the top of the pie crust with the point of a knife.  sprinkle with a little garlic salt and pepper.

Step 13:
Bake for 30 - 45 minutes at 400 degrees.  Keep an eye on it at the end, don't let the crust get too browned.  Cool a bit before serving.

These really were delicious!

This pie crust will be making more appearances in my kitchen.  It was easy and buttery delicious.  I can't wait to use it to make a pie.  It's October, perhaps I see a pumpkin pie in my near future.

Enjoy!