Tuesday, February 22, 2011

Gluten Free Chocolate Chocolate Chip Macaroons


Shawn, my Spouse, has a love affair with chocolate.  I wanted to make macaroons and Shawn wanted chocolate so...   Chocolate Chocolate Chip Macaroons are born.  Some macaroons are cookie-like and some macaroons are toasted little balls of coconut sometimes called haystacks.  I chose to go with the latter to make gluten free easier (no flour at all).  I decided to go with chocolate throughout rather than dipping in chocolate, as so many others do.

These are also egg free.

I really should get a cookie scoop, these have the potential to be as attractive as they are tasty.  I will eventually replace the images with prettier, rounder, cookie pics.

But as for the recipe, it is one of the simplest easiest cookies to make.

Ingredients

2- 7 ounce bags of sweet & moist fancy flaked coconut
1- 14 ounce can of sweetened condensed milk
1/4 cup light sour cream (check for gluten free)
1/2 cup cocoa
1 tablespoon flaxseed meal
3 tablespoons hot water
1 teaspoon pure vanilla extract (check for gluten free)
1/2 a 12 ounce bag of gluten free chocolate chips.

Begin by mixing the flaxseed meal and the hot water in a separate bowl and setting aside to get "goopy".

Next, after the above step has reached a "goopy" stage. (A similar state to a raw egg.)  Add all ingredients to your stand mixer, including the flaxseed meal mixture.

Blend until all ingredients are thoroughly mixed together.

Next, I  used a teaspoon and my finger to place small one inch wide portions onto a cookie tin I sprayed with a nonstick cooking spray.  I would use a cookie scoop on this step if you have one.

Bake at 350 degrees for 15 minutes.  Allow to cool on the cookie sheet for a few minutes before attempting to remove them.  After a few minutes, gently remove the cookies and place on a wire rack to continue cooling.  They will stiffen slightly as they cool, but not much.

These are textured on the outside like lightly toasted coconut and on the inside they are creamy and chocolaty.

Enjoy!


Monday, February 21, 2011

Mom's Christmas Pickles


Growing up My Mom made these wonderful "Christmas Pickles" all the time.  I never paid  very close attention to what she put in it or the amounts of the ingredients.  I don't know where She got the recipe or if She made it up herself.   I just know that everyone that knew Mom, loved her Christmas Pickles and eagerly awaited her to be in the mood to make them.  I doubt people would have eaten as many as they did knowing how much sugar was in them, but you just never can underestimate a Christmas Pickle craving.

Every time I visited Her I would ask her to make a batch, and even Shawn became quickly addicted to Mom's Pickles.  Mom passed away last year and I have been craving Her Christmas Pickles for a couple of months.  I didn't have the recipe and could not find a single similar recipe anywhere online.

I was in quite a pickle. (Sorry, I couldn't resist.)

With the help of a few Facebook friends and a Cousin, and a little trial and error, I have made a batch of  what I think even Mom would have agreed are awesome Christmas Pickles that rival her own.

I hope you enjoy them.

Ingredients

1 Jar of  Dill Pickle Chips
1 Cup Sugar
1 small onion (minced and optional)
1 tablespoon Horseradish
3 tablespoons Apple cider Vinegar
1 teaspoon Celery Seed


The recipe Mom used to make called for a jar of whole dill pickles and for you to slice them.  I chose to go with the lazy route and use a jar of dill hamburger slices.  Mom used to do this a lot in her later years.

Empty the liquid out into a cup and save.

Next measure out one cup of sugar.

Next peel and chop the onion.  I used a food processor.  You need approximately 1/2 cup of minced onion.

Add 1/2 cup of fresh minced onion to the pickle jar and then pour the sugar on top.

Add the teaspoon of Celery Seed on top.

Add the Horseradish.

Add the vinegar and as much of the pickle juice as you can fit in back to the jar.  Shake well.

These will taste just awful if you try one now.

Shake vigorously several times a day and turn jar over once per day.  These will be edible on the 4th day at a minimum.  After a week they are irresistibly delicious!

Here is a jar almost gone. Notice the sediment of celery seed and horseradish.  That is what needs shaking and turning the jar over to keep it mixed and marinating uniformly.   These are simple to make and extremely snackable.  They are similar to a "bread and butter" pickle with a hard kick of horseradish at the end.
These remind me of home and of Mom, what a great comfort food!

Enjoy!


Monday, February 14, 2011

The Seeds vs. The Gums : Which do you use?

Bob's Red Mill Organic Flaxseed Meal, 16-Ounce Packages (Pack of 4).Bob's Red Mill Chia Seeds, 16-Ounce Bags (Pack of 4).Bob's Red Mill Guar Gum, 8-Ounce Packages (Pack of 8).Bob's Red Mill Xanthan Gum, 8-Ounce Packages (Pack of 6)

Lately I have been reading a lot about flaxseed meal and chia seeds in gluten free baking.  Mostly because I have been using flaxseed meal as a replacement for eggs in my baked goodies in an attempt to incorporate a heart healthy diet for me, with a completely gluten free diet for Shawn, my adorable gluten free spouse.

I must say that I was completely skeptical at first.  I mean ground seeds replacing eggs?  Who wouldn't approach with a bit of skepticism?

Flaxseed meal has become my best friend.  I just adore the results I get when replacing eggs in my brownies, cakes, and breads with flaxseed meal.  The results are fabulous!  The health benefits are even more fabulous!

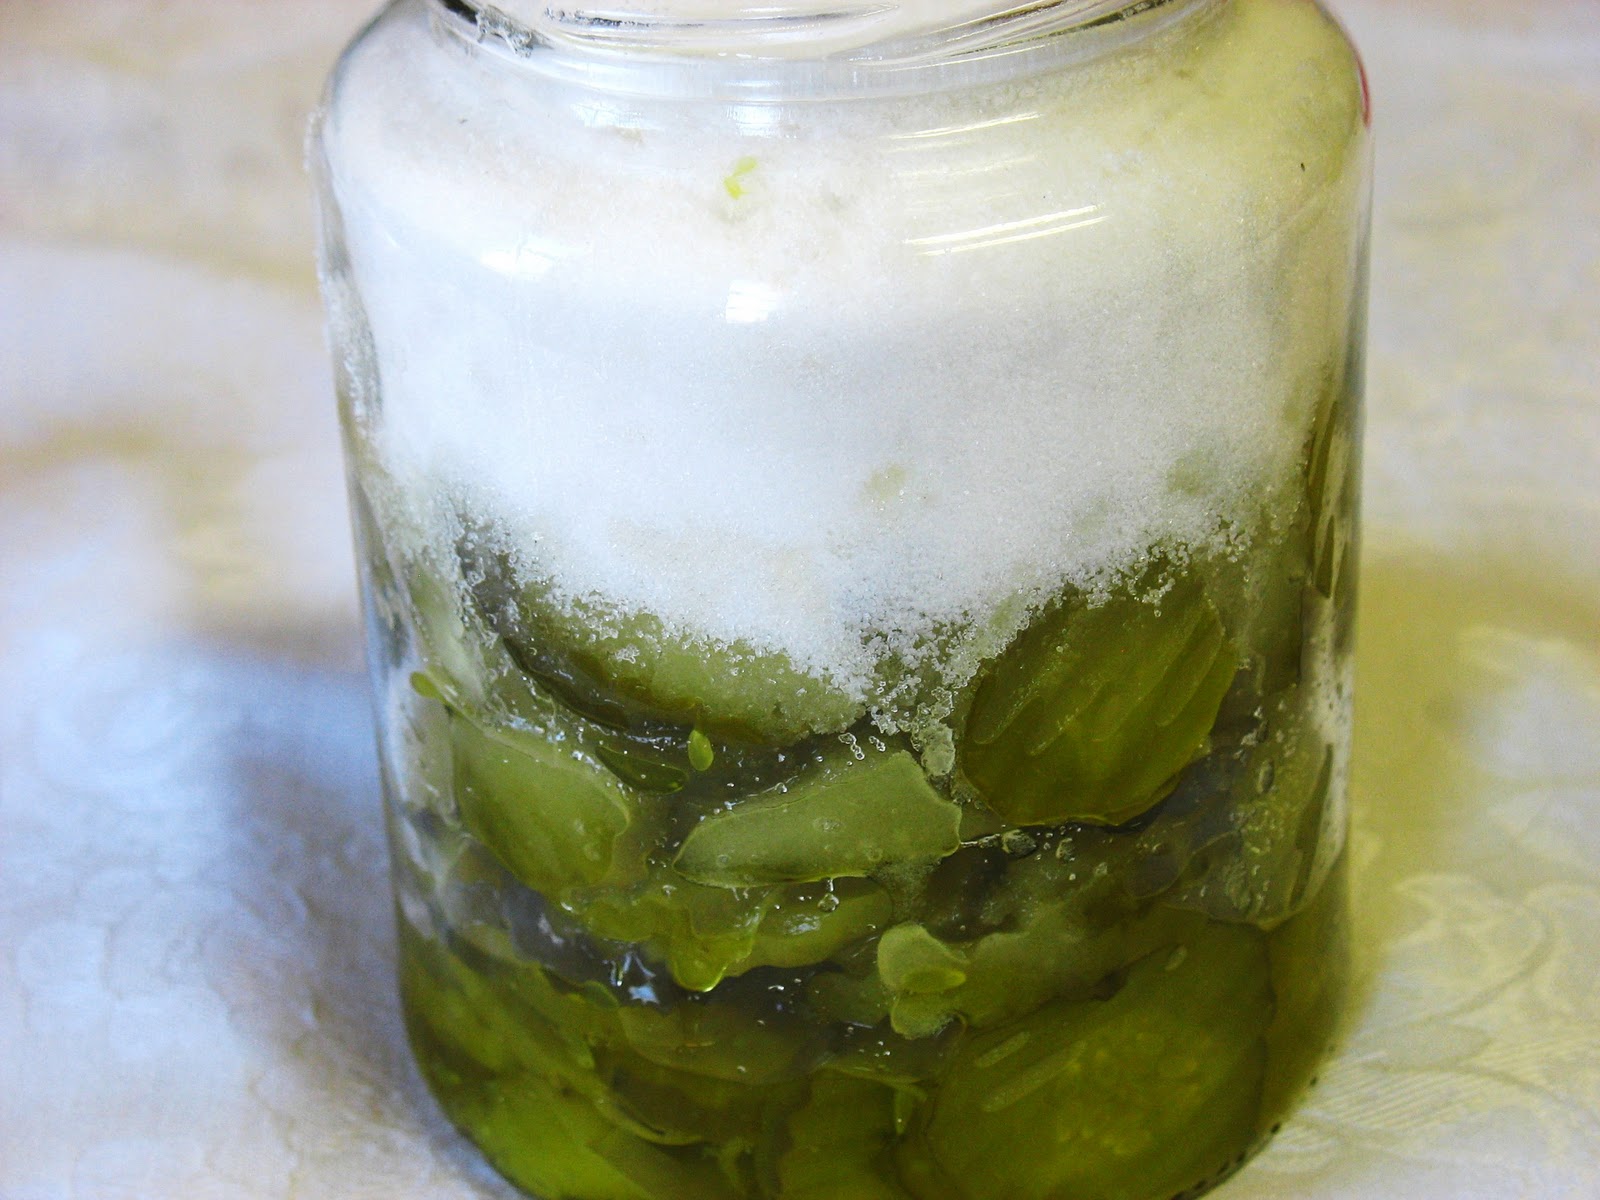
Flaxseed meal and water

Flaxseed meal is power packed with fiber, lignans (a powerful antioxidant), and alpha-linolenic acids (plant versions of Omega-3 fatty acids).  Just 2 tablespoons of Flaxseed meal contain 4 grams of fiber (as much as 1 1/2 cups of cooked oatmeal), more lignans than 30 cups of fresh broccoli, and 2400 milligrams of Omega-3.   Wow!  That is definitely what I would call power packed with nutrition.

Recently, I got letters from more than one reader asking about using flaxseed meal as a replacement for guar gum or xanthan gum in gluten free baking.  They sent me links to one of Shauna's new blog posts "Chia seeds and Flax seeds"  over at The Gluten-Free Girl and The Chef. She seems to have shown some great promise in eliminating the Gums.  It is worth a trip over to her blog for a read.  (and a few follow up visits to get some of the newer gum free recipes).  I had just read that post, that morning when I had seen it on Bob's Red Mill facebook.

One reader of mine in particular sent me a photograph of her in progress attempt at making my cinnamon roll recipe using Shauna's suggestions and flaxseed meal.  This reader had tried to replace the 2 and 1/2 teaspoons of Xanthan gum in that recipe with a slurry made of 2 and 1/2 teaspoons of flaxseed meal and 5 teaspoons of boiling water.  The dough came out extremely wet and unmanageable.  5 teaspoons of water may not seem like much, but I recommended that She offset that amount of liquid from the recipe.

But then I thought,  Is that enough to simply offset the liquid?

I wanted to test for myself what removing the gums do to an existing recipe.  I was getting ready to make my Gluten Free, Egg Free, Dairy Free brownies anyway, so I chose to leave out the 1 teaspoon of Guar gum and since the recipe already had 3 tablespoons of flaxseed meal as an egg replacement, I did not add anymore to replace the absent Guar gum.

To begin with the batter was a lot runnier than it was with the Guar gum in it, and I mean a lot runnier.  They baked more like a cake and sank in the center towards the end as if they lost air in the last few minutes of baking.

With the Guar gum in the recipe, the batter is stiff, almost too stiff and it bakes at a uniform height without sinking in the middle, consistently.

Without the Guar, the brownies cracked and one broke when transferring them to the drying racks.

With the Guar, this never happens.  They remain flexible, and I kind of like that.

I do agree that when I use flaxseed meal as an egg replacement  in my gluten free breads I get a more
bread-like texture than without it.

I don't think it can be readily substituted into other recipes in place of the gums without taking into account the "gumminess" and thickening quality of the gums and altering the recipes liquid to flour ratio to make up for the lack of that "gumminess" and the addition of the liquid in the flaxseed meal slurry.  Do not underestimate how much thickening and cohesiveness a teaspoon of guar gum can bring to a batter or dough.

I wholeheartedly agree that eliminating the gums in favor of a flaxseed slurry is a good idea.  I will attempt to create a few working recipes that use this concept and post them here for you.  If I have great success with this, I will post some conversions of my older recipes also.

I guess so far in my gluten free baking experiments, I have concluded that, when used together, both flaxseed meal and Guar gum give me the best results.  Xanthan gum has fallen out of favor with me.  All have their uses and their distinguishable textures.

I will experiment more, and as always post my best and proven results here for you all to share.

Keep the questions and suggestions coming.  I really enjoy them.

Wednesday, February 9, 2011

Gluten Free Soft Pretzels


I tried several different flour mixtures to get this one right.  Every time Shawn and I go to the local mall, we crave Annie's Pretzels.  How could you not?  The smell of those soft pretzels when you walk by gets your attention like a slap in the face.

These turned out great.  Salty, chewy, giant soft pretzels.  Just like I remember.  They were easier to make than I thought too, which is a bonus.

The flavor of soft pretzels comes from 3 sources.  Butter, the baking soda/salt bath, and yeast.  These are the three flavors that when combined are irresistible.

Ingredients

1 packet of Active Dry Yeast
1/2 cup Potato Starch (not potato flour)
1/2 cup Corn Starch
1/2 cup Tapioca Flour
1 cup Glutinous Rice Flour (sweet rice)
1/2 cup Sweet White Sorghum Flour
2 teaspoons Guar Gum
1 cup warm water
1/4 teaspoon sea salt
2 teaspoons sugar
2 tablespoons unsalted sweat cream butter (softened)
1 tablespoon Clover Honey
2 tablespoons Extra Virgin Olive Oil
Pretzel salt

Alkaline Bath Ingredients

1/4 cup baking soda
3 tablespoons sea salt
4 cups water

Begin by whisking together the flours, starches, 1/4 teaspoon salt, 1 teaspoon sugar, and the guar gum until thoroughly mixed together.  Make a well in the center for the liquid ingredients.

Mix the yeast, 1 teaspoon of sugar, and 1/4 cup of warm water together and set in a warm place to proof the yeast.

Pour the yeast mixture, 3/4 cup warm water, the butter, the honey, and the olive oil into the well you made in the flour mixture and begin mixing together using the dough hooks of your stand mixer.
This mixing will take a long time and will not completely incorporate all the wet into the dry.  You end up with a crumbly mixture like this.
Begin working/kneading the dough into a solid ball with your hands.
Continue working/kneading the dough in your hands until it is a smooth ball.  Spray a large glass bowl with Crisco Olive Oil nonstick spray.  Place the dough ball in the bowl and spray the dough ball so it's coated with olive oil.  Cover the bowl in plastic wrap and let sit for about an hour.  (it will swell to almost double its original size.

Remove from the oiled bowl after about an hour.  Divide the dough ball in half, then half again, then again.  Continue dividing the dough until you have 8 approximately equal balls.

Begin with one of the balls, and knead it in your hands until it becomes smooth and pliable.  The guar gum and yeast combination will become very pliable if warmly kneaded in small portions. Do not rush this step.  Once the dough is "doughy", roll between the hands at first then on the worksurface.  Keeping your fingers together at first, begin rolling into a rope while gently pressing down and slowly spreading fingers apart to elongate the rope. (if you can't get it right, ask your kids to help.  I am sure they do this in school with play-dough and or clay.)
 Roll out to approximately 12 - 18 inches long.  Grasp the ends and bring together, twist, and press ends into a side to make the pretzel shape. (notice the one pictured below was not kneaded long enough, so it cracked and tore.)

After you have made all of your pretzels, bring the alkaline bath to a boil.  Using a slotted spoon, place each pretzel into the boiling bath for approximately 1 minute.  It will swell slightly and change color to a pale yellow.

Place each pretzel straight from the bath onto a cookie sheet that you sprayed with the Crisco Olive Oil nonstick spray. Sprinkle with pretzel salt.  Bake for 12 minutes in a 350 degree oven.  Cool on a wire rack, but serve warm.

Instead of making the pretzel shape, I wrapped some hotdogs for dinner, and prepared them the same way. (notice in the photo, there are 4 yellowish, and 2 white. The yellowish ones were boiled in the alkaline bath)

Absolutely a delicious part of any meal.

This recipe makes 8 large soft pretzels.  I do not know how long they store for or how well they hold up in storage because we ate them right away.

Enjoy!


Friday, February 4, 2011

Gluten Free Four Cheese Lasagna


I have always loved lasagna.  It has been my favorite meal since I was wee child.  My Aunt Ginger made the best lasagna in the history of lasagna.  I tried to glean what I could from her lasagna recipe when we would visit.  Unfortunately Aunt Ginger is a crafty one, all I could find was a small purple tupperware container that simply stated "lasagna spices".  She had anticipated people wanting her "secret recipe", so she premixed all the spices together and disposed of any evidence as to what was in there.

Finally I've decided to make a gluten free lasagna, and I can honestly say it isn't as good as my Aunt Gingers.  Shawn absolutely adored it and devoured it like he hadn't eaten in a week.

Ingredients

The Noodle

3/4 cup Quinoa Flour
3/4 cup Arrowroot Flour
1/2 cup tapioca flour
1/2 cup glutinous Rice Flour
3 eggs
4 tablespoons extra virgin olive oil
2 tablespoons Flaxseed Meal
6 tablespoons hot water
1 teaspoon Guar Gum
1 tablespoon water (if needed)

Begin by mixing the flaxseed meal and the 6 tablespoons of water together thoroughly.  Let this mixture sit out to thicken up (get goopy).  I totally love my Christmas present from my friend Cara, the read from above pyrex measuring cup pictured below.

Next whisk the flours, gums, and starches together thoroughly in your stand mixer bowl.

When finished thoroughly whisking the flours together, make a well in the flour for the wet ingredients.  Add in the oil, the eggs, and the flaxseed meal mixture.

Mix well, slowly incorporating more dry into the wet as you slowly shift the mixing bowls positioning.  This mixing step takes a long time, so relax and let it do the work for you.  The resulting dough is incredibly sticky.

I turned this sticky mess out onto a generously floured rolling mat, and added flour to the top.

Roll the dough to a uniform thickness for use as noodles.  This dough can be rolled too thin for the lasagna noodles if you're not careful.  The dough is sturdy when paper thin, but lasagna noodles should be a lot thicker than a sheet of paper.
I used a pizza cutter to cut this into manageable lasagna noodles.  Then began the layering.

Meanwhile.....

Ingredients 

The Meat Sauce

1 pound ground hamburger
1 can of tomato sauce (8 ounce)
1 medium vidalia onion
1 teaspoon garlic salt
1 tablespoon sugar
1/2 teaspoon basil
2 tablespoons italian seasoning

The Cheeses

Cottage cheese
Grated Parmesan
Shredded mozzarella
ricotta (sometimes I use provolone for this one)

Begin by browning the ground beef.

Peel and dice the onion into small enough pieces to go into your food chopper.  I love this little kitchenaid chef's chopper I got for Christmas from Shawn.


Give it a few pulses, enough to make the onion into very very small pieces.  Dump the onion into the browning ground beef and stir in thoroughly.

When the meat is browned and the onions begin to carmelize, add the remainder of the spices and tomato sauce.  Simmer for a bit.

Now is the time to begin the layering of the lasagna.  There is just the Two of us here usually so I made it in a loaf pan.  If you are going to make a full size lasagna, just double this recipe.

Layer 1:  Line the bottom of the pan with noodle.
Layer 2:  Sprinkle mozzarella cheese (and provolone or riccotta)
Layer 3: Sprinkle lightly some of the meat sauce mixture.
Layer 4:  Sprinkle some cottage cheese and some parmesan.
The next layer is step 1 again, cover with a noodle.  Repeat all the steps over and over until you have reached the top of the pan.  The top layer was simply noodle, mozzarella, and parmesan.

Bake in a preheated oven at 350 degrees for approximately 30 minutes.  Cool on a wire rack a bit before serving.

Plate and enjoy!