

{This is a reprint of the first recipe I created/Blog article I wrote for Bob's Red Mill a few months ago, I just finished writing a second one for Autism Awareness Month that will be published soon on Bob's Red Mill's Blog, be on the lookout for that. Meanwhile here is a reprint of the original post "Gluten Free Cinnamon Rolls"}
The weather outside this week chilled me to the bone. Cooler weather always reminds me of my Family. Cooler weather and my Family always brings to mind Grandma's house around the Holidays. The house was a buzz with all the sights, scents, sounds, and smells that you would expect from a large multi-generational family during the Holidays and freshly baked cinnamon rolls were a constant comfort. From Halloween through to New Years, Grandmas House played a huge roll in our family's Holidays. It was a huge 2 story farmhouse on top of a hill dwarfed by the fully mature Tulip tree that was in the back yard. I loved it there.
When My Spouse Shawn, bless his heart, was finally diagnosed with Celiac, I remember thinking this is going to be a difficult road. Over the next few weeks after his diagnosis, we tried a lot of gluten-free products. I wasn't pleased with the tastes and textures so I continued to eat normal and let Shawn have his gluten-free, yuk!
Needless to say, I couldn't let the little guy suffer with foods that were gross to me, so, being the cook that I fancy myself to be, I set out to create recipes that Shawn "could" eat, and that I "would" eat. I then started blogging these recipes to help out anyone and everyone that wants to cook for their food restricted loved ones. I became "The Gluten Free Spouse". Stop by and bake something. http://theglutenfreespouse.blogspot.com

I remember spending the night at Grandmas house during the cooler months, as a child, and awakening in the morning to the smell of freshly baked homemade cinnamon rolls was so comforting.
I love homemade cinnamon rolls. Fresh from the oven, icing melted just right.
This was something Shawn really wanted me to try to make, but until a recent sandwich bread breakthrough, I had not thought it would turn out right, but, never in my wildest dreams did I think it would turn out as delicious as it did. Wow! I'd serve these to anyone and challenge them to notice that these are gluten-free.
This is just another variation (one of many) on my gluten-free sandwich bread recipe. A little more sugar, a little less milk. Give these a try and your family will uncontrollably smile for hours.
Ingredients
3 large eggs
1 teaspoon Pure Vanilla Extract (check for gluten-free)
1 tablespoon clover honey
1/2 stick of butter (melted)
Group 1
1 cup Bob's Red Mill Potato Starch
1/2 cup Bob's Red Mill Quinoa Flour
1/2 cup Bob's Red Mill Arrowroot Starch Flour
1/2 cup Bob's Red Mill Sweet White Sorghum Flour
1/2 cup Bob's Red Mill Brown Rice Flour
3/4 cup Granulated Sugar
3/4 teaspoon ground Sea Salt
2 and 1/2 teaspoons Bob's Red Mill Xanthan Gum
1 teaspoon Bob's Red Mill Gluten Free Baking Soda
1 teaspoon Bob's Red Mill Baking Powder
Group 2
1/4 cup warm water
1 packet of Active Dry Yeast
1 teaspoon sugar
Group 3
1/2 cup whole milk
1 tablespoon apple cider vinegar
Cinnamon Sprinkle
1/4 cup granulated sugar
3 teaspoons ground cinnamon
Icing Glaze
1 1/3 cups confectioners sugar
2 tablespoons whole milk
Preparation is the key to making these easy and smoothly.
I begin with mixing the dry ingredients in Group 1 together in my stand mixer bowl. Whisk thoroughly. Set this aside for now.

Next, mix together the items in Group 3 and set this aside to come to room temperature. At this time also set out the 3 eggs to come to room temperature.

When the eggs are almost to room temperature, mix the ingredients in Group 2 together and set out to "bloom".

While the yeast is blooming, use a stick of butter to grease your baking sheet.

I also took this time to loosely wrap my cutting board with a smooth sheet of cling-wrap, keeping it smooth on top and tucking just the sides under for stability.. Dust the smooth top of the cling wrap with a sweet rice flour/powdered sugar mixture to prevent the extremely sticky dough from sticking to the cling-wrap.
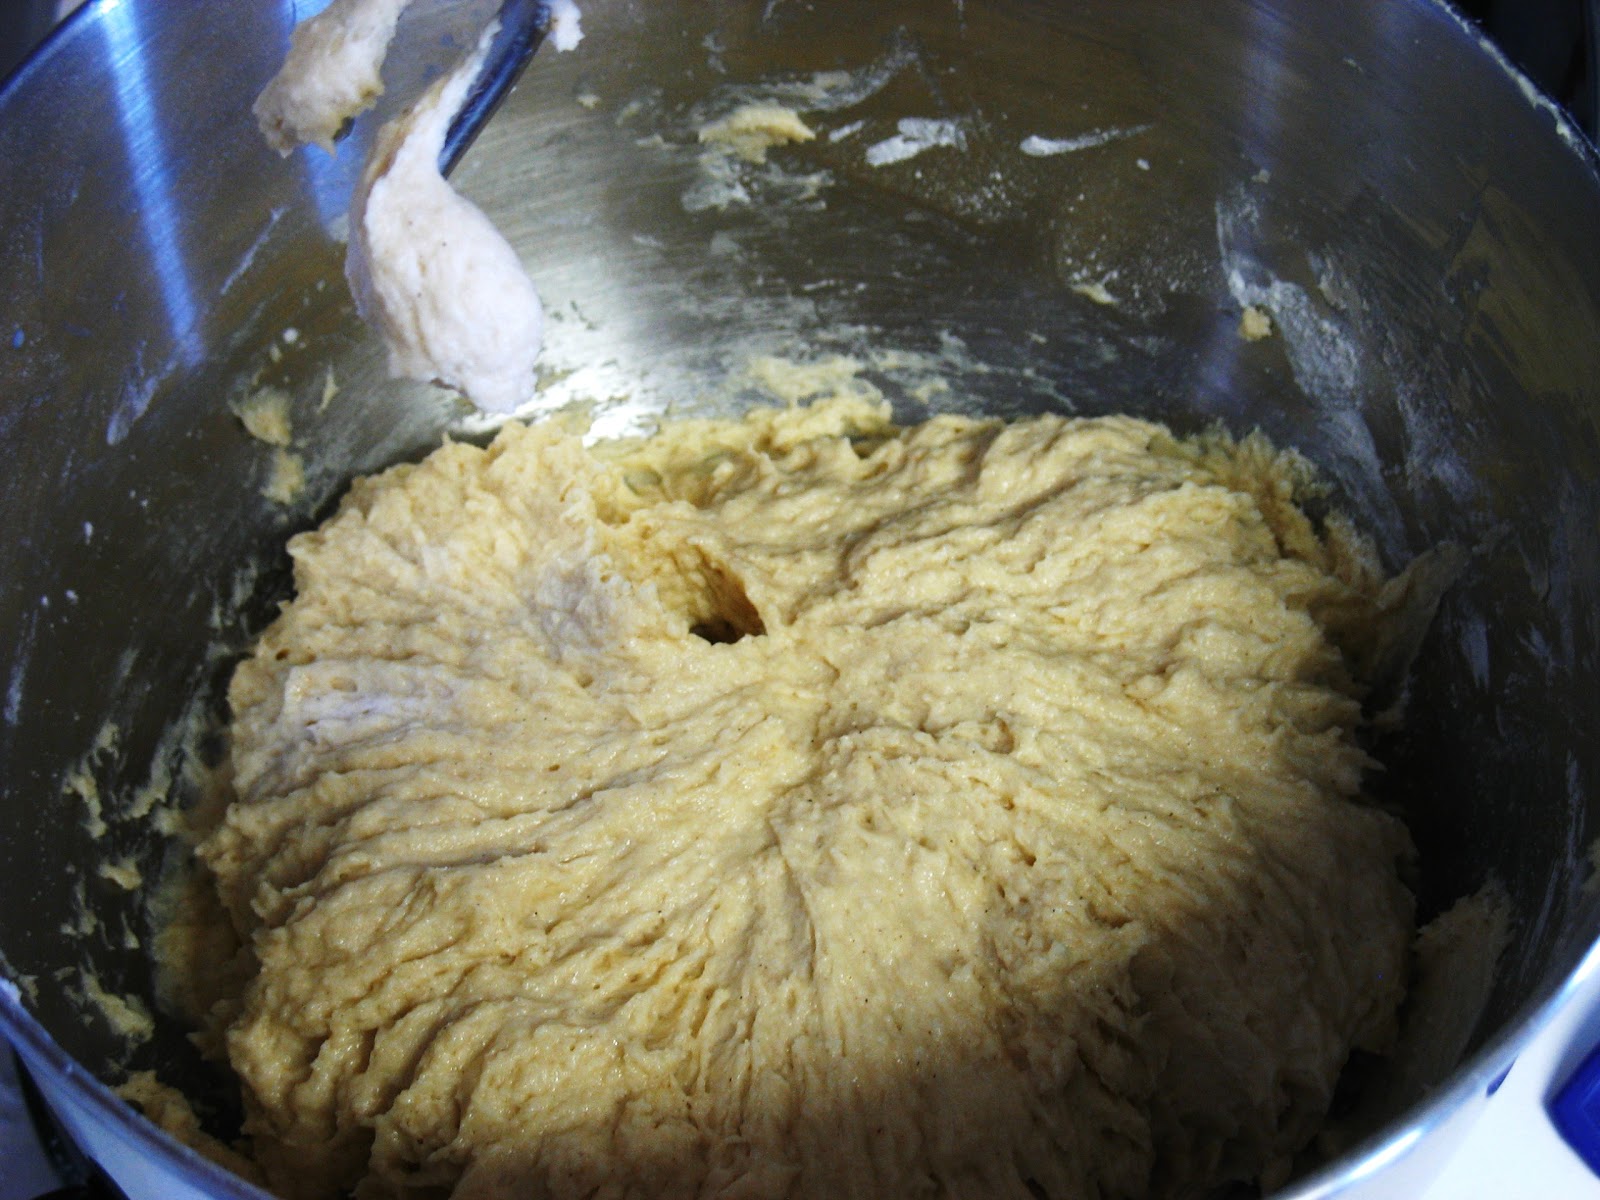
Once all ingredients have warmed to room temperature and the yeast is blooming. Begin mixing the "groups" together using your stand mixer with dough hook attachments, adding the eggs and the vanilla, and the honey too at this point. The dough will take awhile to thoroughly mix together. It will be very sticky.
Turn the dough out onto the prepared cling wrapped and dusted board. The dough will stick to anything at this point, and is expanding, so quickness is of some importance. Spray your spatula with a butter flavored cooking spray, this will make it glide easily without sticking to spread the dough out evenly on the cling-wrapped cutting board.

Use a kitchen basting brush to paint the top of this dough slab with the melted butter.


Once the top has been brushed with butter, mix the cinnamon and the sugar together for the filling.

Sprinkle the cinnamon sugar mixture onto the buttered slab of dough.

Undo the the side flaps of cling wrap that you had tucked under for stability, this will allow you to roll the very sticky dough into a "roll". Grasp both ends and using the cling wrap lift and flip over tightly one end of the dough slab.

Make sure that the dough is not sticking to the cling wrap and gently and slowly continue the roll.

Stopping just before the end, make the last roll/fold bringing the rear up and over the top of the what is now a log. It has continued to expand in my warm kitchen.

Next I folded the the cling wrap off of the log after smoothing the edges slightly. Then Using a buttered pastry knife, I cut the log into roughly 1 inch widths. (I had to re-butter the pastry knife a couple of times.)

Using the buttered pastry knife, I slid under, lifted, and transferred each slice individually to the buttered cookie tin.

I placed these in the preheated oven at 175 degrees for 45 minutes to rise. This picture is of them after that rise but before cooking.

When they have risen for 45 minutes, turn the oven temperature to 350 degrees and cook for approximately 15 more minutes. I'd like to caution you to keep an eye on this due to a lot of different factors. Like, I know my oven needs to be set to between 375 and 400 to achieve a true cooking temperature of 350 degrees You want the cinnamon rolls to cook through to the center but not to get brown or very crusty on the outside at all. "Cooks, you know your ovens!"
When they came out of the oven, it was hard to not snatch one up and chomp away. I held back, pacifying myself with the thought of them glazed. With that thought, I sat the tray on a wire rack to cool and began mixing the glaze. Simply powdered sugar and milk, mixed to the consistency you desire. I drizzled them with no particular pattern in mind, instead, I was hurrying so I could try one faster.

They were delicious! They were exquisite! Grandma would be proud. I Love these. Shawn Loves these. We know you will love these too. A favorite cold weather comfort food at our house when I was young, and now again! Gluten-Free!
No comments:
Post a Comment